Introduction To English Pulp Wallpapers
English pulp wallpapers have long been synonymous with elegance and sophistication, offering a unique way to imbue walls with luxurious charm. Originating in England, these wallpapers represent a marriage of rich historical traditions and innovative design techniques, resulting in stunning visuals that can transform any space. Crafted from high-quality pulp, they are renowned for their durability and exquisite texture, making them a favored choice for those looking to enhance the opulence of their interiors.
These wallpapers draw inspiration from a variety of sources, including classic motifs and modern art, allowing homeowners to choose from a range of intricate patterns and color palettes to suit their personal style. The intricate designs can feature anything from delicate floral patterns to bold geometric shapes, each capable of adding depth and character to a room. The thickness and quality of the pulp material not only provide a tactile experience but also contribute to the wallpaper’s longevity, ensuring that its beauty withstands the test of time.
Incorporating English pulp wallpaper into a space is more than just a design choice; it’s a statement of taste and a nod to a rich historical legacy. Whether used to accentuate a single wall or to adorn an entire room, these wallpapers offer a versatile and timeless solution for those seeking to elevate the aesthetic of their abode with sophistication and style.
The History And Evolution Of Pulp Wallpapers
The history and evolution of pulp wallpapers is a fascinating journey through design innovation and changing tastes in interior decoration. Pulp wallpaper, which finds its roots in 19th-century England, initially emerged as a cost-effective alternative to more luxurious hand-painted or woven wall coverings. With the advent of industrialization, paper manufacturing underwent a revolutionary transformation, enabling the production of wallpaper from pulp, a material derived from wood fibers.
Pulp wallpapers were originally popular due to their affordability and the ease with which they could be produced in large quantities. The Victorian era saw a surge in demand for intricate and ornate designs, which pulp wallpapers were able to mimic through advanced printing techniques, bringing an element of elegance to homes that sought to exude sophistication without breaking the bank.
As printing technology progressed, so too did the quality and detail of the patterns; vibrant colors and refined textures became synonymous with pulped versions, catering to the tastes of an aspirational middle class.
In the 20th century, pulp wallpapers evolved further as design trends shifted towards simpler, more modern aesthetics. Today, contemporary interpretations of pulp wallpapers continue to draw inspiration from their rich legacy, blending timeless designs with innovative techniques to produce high-quality, luxurious options that grace the walls of discerning homes around the world.
Characteristics Of High-Quality English Pulp Wallpapers
High-quality English pulp wallpapers are distinguished by their exceptional craftsmanship, premium materials, and timeless aesthetic appeal. At the core of these luxurious wallpapers lies the use of fine pulp, which is meticulously processed to create a smooth, durable base that serves as the canvas for intricate designs. The quality of the pulp is paramount, ensuring the wallpaper’s longevity and resistance to wear.
This foundation is enhanced by the attention to detail in the manufacturing process, where skilled artisans bring traditional techniques into harmony with modern technology, resulting in wallpapers that flawlessly capture the essence of luxury and elegance.
The patterns and motifs found in English pulp wallpapers often draw inspiration from historical and cultural influences, ranging from the opulence of the Victorian era to the understated elegance of contemporary designs. This rich tapestry of inspiration allows for a diverse array of styles, ensuring that each wallpaper possesses a unique character and charm. The color palettes used are typically sophisticated, employing deep, saturated hues that complement the intricate designs without overshadowing them.
Furthermore, these wallpapers are celebrated for their ecological consideration, as the pulp used is often sourced from sustainable forests. This commitment to environmental responsibility adds to their appeal among discerning clientele who value sustainability alongside luxury. Ultimately, high-quality English pulp wallpapers encapsulate a seamless blend of artistry, durability, and eco-consciousness, making them a distinguished choice for enhancing any sophisticated interior.
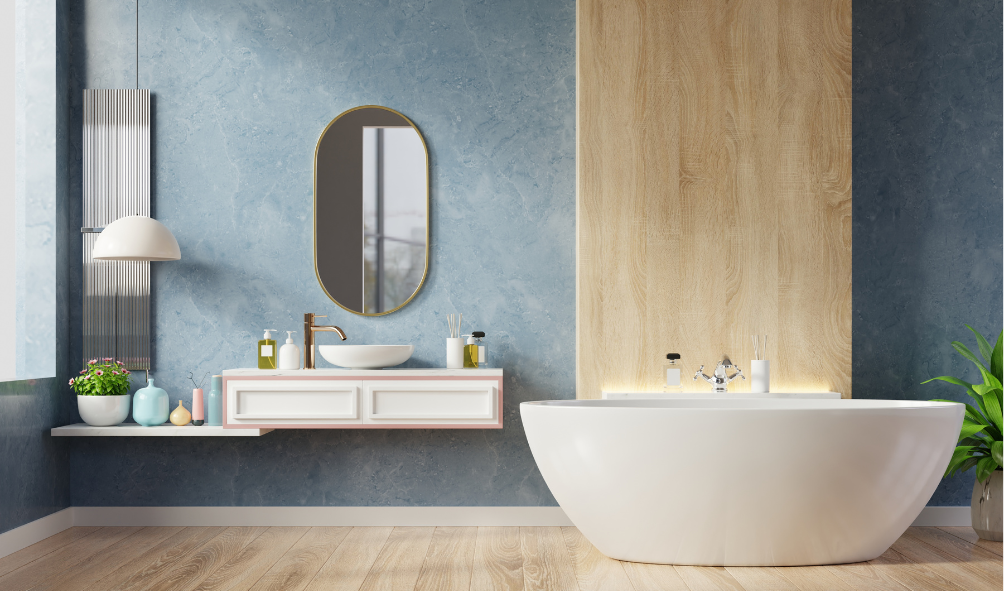
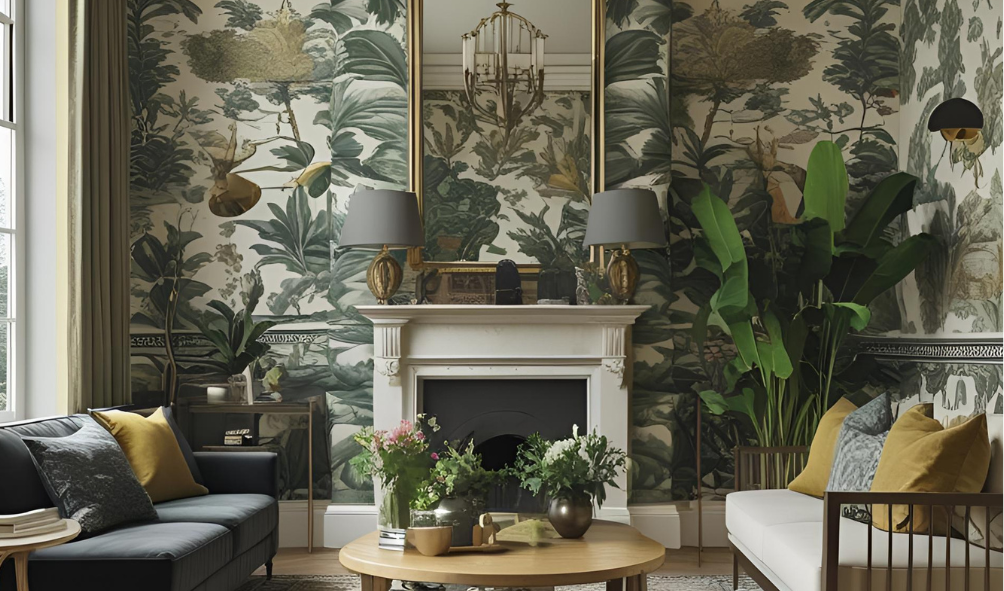
The Role Of English Pulp Wallpapers In Luxurious Interior Design
English pulp wallpapers have long held a prestigious place in the realm of luxurious interior design, serving as a cornerstone for creating sophisticated and opulent environments. Known for their rich textures, intricate patterns, and exceptional quality, these wallpapers offer a unique blend of tradition and elegance that effortlessly elevates any space. The use of pulp wallpapers in high-end interiors is a testament to the meticulous craftsmanship and detailed artistry that define English design principles.
Their ability to capture the essence of luxury without overwhelming a space makes them an ideal choice for designers aiming to craft interiors that exude refinement and class.
The appeal of English pulp wallpapers lies not only in their aesthetic beauty but also in their versatility. They can be used to complement a wide range of decor styles, from classic and traditional to modern and eclectic, seamlessly adapting to different tastes and enhancing the overall ambiance of a room. Moreover, the durability of these wallpapers ensures that their elegance endures over time, making them a wise investment for those seeking long-lasting luxury.
As they continue to grace the walls of prestigious homes and exclusive venues, English pulp wallpapers remain an enduring emblem of sophistication in the world of high-quality interior design, symbolizing a timeless commitment to beauty and detail.
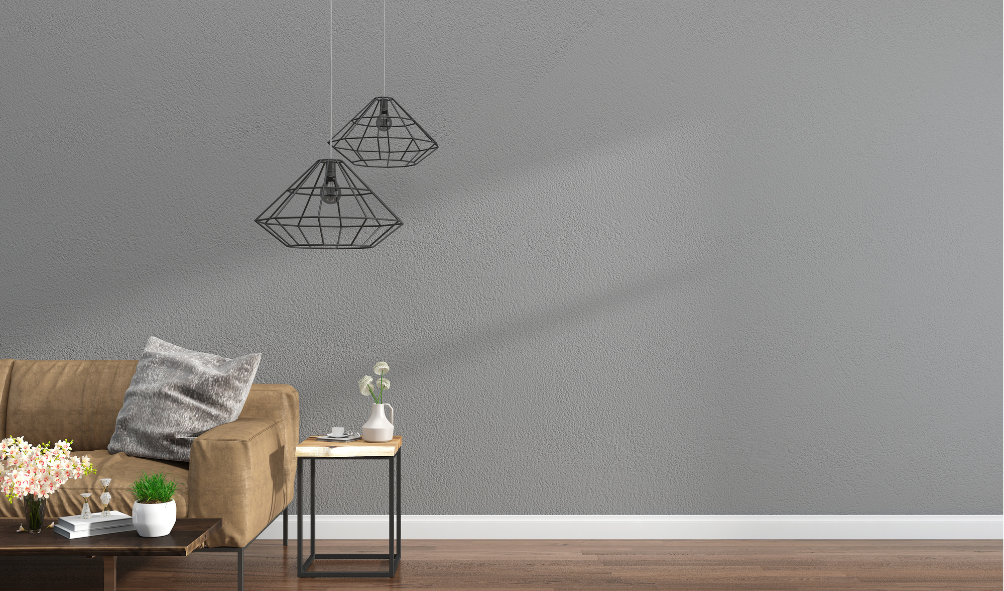
Choosing The Right Pulp Wallpaper For Your Space
When selecting the ideal English pulp wallpaper for your space, it’s important to consider how the design, texture, and color will complement your existing décor while bringing a touch of luxury to your surroundings. English pulp wallpapers are celebrated for their rich patterns and textures, often drawing inspiration from historical designs and artisanal craftsmanship. Start by assessing the room’s overall aesthetic and purpose.
- For a space intended to offer relaxation, such as a bedroom, opt for soothing patterns and colors, like soft floral motifs or muted pastels, which evoke a sense of tranquility.
- In contrast, for more vibrant areas, such as a living room or a dining room, consider wallpaper with bold patterns or intricate designs that serve as a conversation starter and add an element of sophistication. It’s crucial to balance the wallpaper design with existing furniture and room color schemes to create coherence. Texture also plays a significant role in choosing pulp wallpaper, as it adds depth and interest to your walls.
- Consider the quality of the paper and the intricacy of its design; high-quality options will offer longevity and retain their luxurious appearance over time.
- Lastly, keep in mind the scale of the pattern for the size of the space, ensuring that it enhances rather than overwhelms the room.
By carefully considering these elements, you’ll select a wallpaper that enhances your environment with elegance and style.
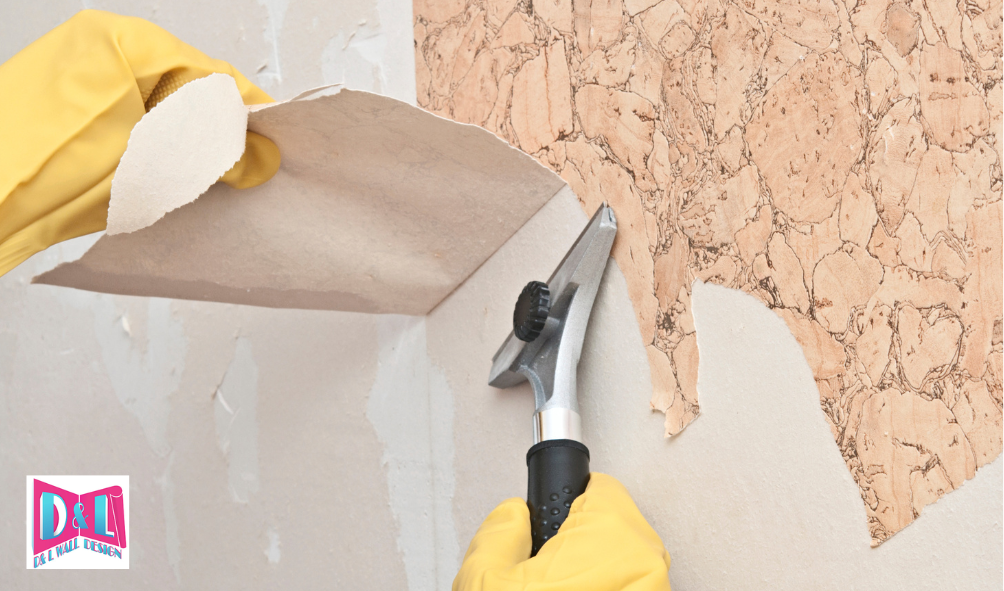
Installation And Maintenance Tips For Longevity And Elegance
Installing English pulp wallpapers to achieve high-quality, luxurious walls requires precision and care to ensure longevity and maintain their elegance.
- Begin by preparing the wall surface, ensuring it is clean, smooth, and free of any imperfections.
- Prior to installation, acclimate the wallpaper in the room where it will be hung for at least 24 hours; this helps it adjust to the room’s temperature and humidity levels.
- Use a high-quality, appropriate adhesive specifically designed for pulp wallpaper to avoid any damage or peeling.
- Apply the adhesive evenly onto the back of the wallpaper rather than the wall to ensure a consistent and secure application.
- As you hang each strip, smooth it from the center outwards with a wallpaper brush to eliminate bubbles and creases, aligning the patterns meticulously to maintain a seamless appearance.
Regular maintenance is crucial for preserving the wallpaper’s luxury. Gently dust the surface regularly using a soft cloth or duster. If cleaning is necessary, lightly dampen a cloth with water and mild soap, avoiding harsh chemicals that can harm the wallpaper’s integrity and design. Avoid exposing the wallpaper to direct sunlight for prolonged periods, as this can cause fading. By combining these installation and maintenance practices, your English pulp wallpapers will continue to embellish your walls with elegance and sophistication for years to come.
For the best, hassle-free wall covering, wallpaper removal, and installation, hire a reliable wallpaper contractor in Miami, such as D&L Wall Design, to help you create a stunning space. Contact D&L Wall Design at 786 389-3914 for a FREE consultation today!